In this article we shall take a look at the steps in building an SSIS Package and deploy it.
You may have designed the package in your Development System and tested the Package from BIDS. Now it’s time to move it to the SQL Server. Up to this point, you have developed a Package in BIDS but have not deployed it onto the Integration Services. Let’s look into the steps involved in moving it to SQL Server Integration Services.
Deploying SSIS Packages would be helpful when you have multiple packages in a single solution, so that you can deploy all of them at once.
Building the Solution / Packages
Once the packages are all developed, right click on the Solution in Solution Explorer and choose properties in the Menu. Upon selecting properties, a Dialog box appears as shown in the picture below.
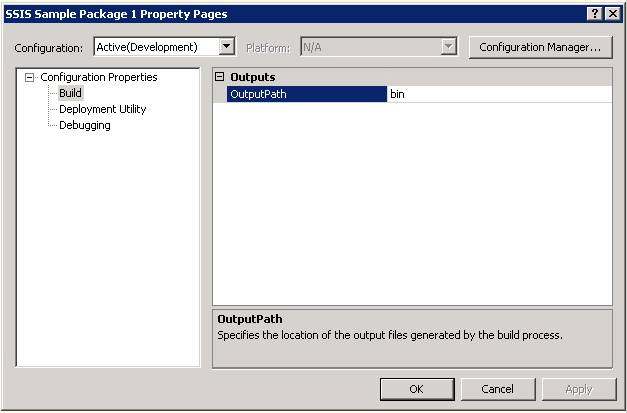
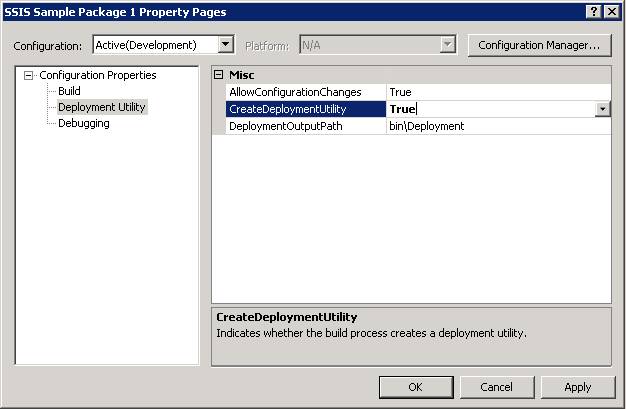
The output path is by default bin, it is the directory where the files that are built are going to be placed by SQL Server. For deploying the SSIS Packages we need to have deployment files which will not be created by default when you build a project, to enable this under the configuration properties in the left Pane, select Deployment utility as shown in the picture below and change the property value to True corresponding to CreateDeploymentUtility, additionally you can also set the Directory path where the deployment utility has to be placed upon building the solution. Choose your settings and click Apply to ensure the changes in the properties are saved.
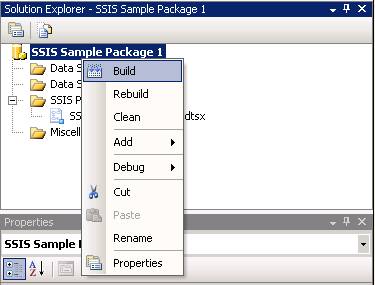
The Next step is to Right Click on the Solution in the Solution Explorer and choose Build. (as shown in the picture below)
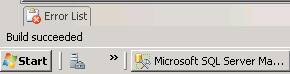
The status of the build process is showed at the bottom left corner of the BIDS as shown below.
When the build /rebuild is successful, navigate to the directory is referred in the DeploymentOutputPath couple of screens back. You should be seeing the packages in the solution and along with them an additional file usually of 1 KB which is the Manifest File what helps in deploying the packages in the solution.(Picture below)

Deploying the Packages
Double click the Manifest File to start the deployment. The Package Installation wizard begins and Deploy SSIS Packages step is the first screen that is presented.
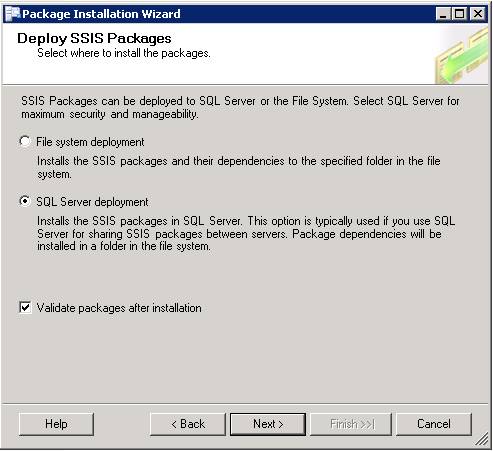
This screen lets you select where shall the packages be deployed, as mentioned in the Dialog Box, deploying in SQL Server is more secure, since SQL Server stores the packages internally compared to File System where additional security measures needs to taken to secure the physical files. My personal choice would be to deploying inside SQL Server.
Additionally, choose the option to validate the packages after Installation.

If the deployment is on the same Server you can mention “.” in the Server Name or choose the Server Name from the drop down list if is a remote Server where you would like to deploy the packages. Choose the Authentication mode that you would like to connect to that Target Server you want to deploy. Click Next to continue.
The dialog box above displays, the location where the Package dependencies are going to be stored and can be modified if needed. Click Next after deciding the location for dependencies.
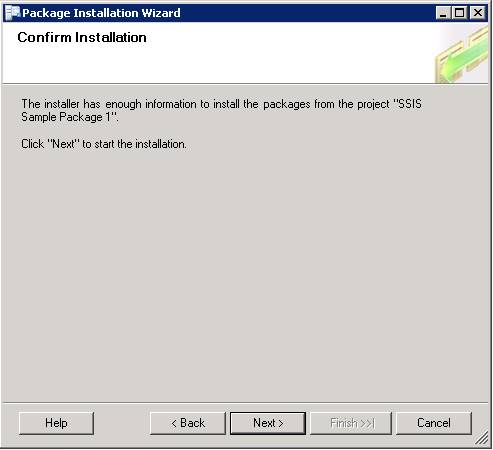
Click Next in the above screen to deploy the packages. The Installation is done and the tasks in the packages are validated.
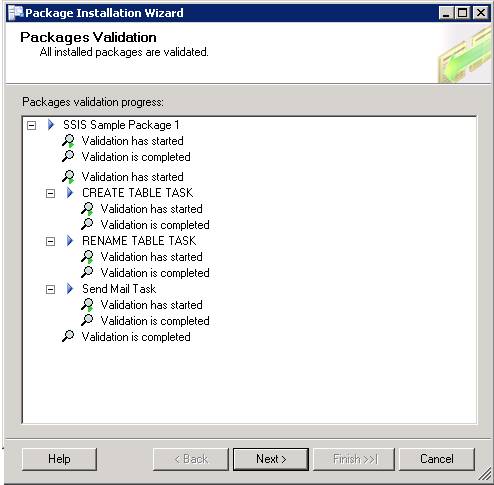
Click on Next in Dialog Box and you should be able to see a View Installation details Dialog. Click Finish to complete the Deployment of the SSIS Package.
One of the next steps would be to schedule the Package using SQL Server Agent.
Do you like this site? Like our FB page @ Facebook.com\LearnSQLWithBru so that, you know when there is a new blog post.
— Bru Medishetty