Downgrading SQL Server Enterprise Edition to Standard Edition

In this blog, we shall look at something that may not be done as frequently as you would want to. It is Downgrading a SQL Server 2005 from an Enterprise Edition to Standard Edition.

First you need to know why such an exercise is carried out any way. The reason would be, due to oversight, an Enterprise Edition was installed which in the first place must have been a Standard Edition, or the decision makers decide to go with Standard Edition of SQL Server due to the cost difference in the both the Editions.

Whatever the reason behind it, as a DBA you are asked to plan and carry out the exercise with a little or no downtime.

Here are the steps I identified to perform the Downgrade to SQL Standard on the same server which has the SQL Enterprise Edition. This method does not need any additional resources whatsoever.

Before beginning the process, make a note of the current Installation details such as

  • Instance Name ( Default or Named Instance)
  • Other Server Options such as AWE, Authentication, Login Auditing, Database default Locations etc..
  • Network Protocols enabled and the TCP/IP Port No etc
  • The components installed, such as Full Text Search, Reporting Services, Analysis Services or Integration Services if any.

Steps to Perform Downgrade the SQL Server Enterprise to Standard

  • Ensure the Application and the Databases are not in Use.
  • Check for any Jobs running on the Server and if none are active, disable all the jobs, and if there are a number of Jobs on that Server, it’s a good idea stop the SQL Server Agent.
  • Perform a Backup of all the Databases, use a script to backup all the databases including the System Databases.
  • Make a copy of the Data and Log Files of the System Databases. (Needed to Overwrite existing MSDB and Model Database Files after Installation of Std Edition)
  • Run the Script that creates all Logins on the SQL Instance and store that script as Create Logins Script. Follow the Link provided at the end of the Blog to know the exact procedure.
  • Detach the User Databases. Make ready a Script for detaching all User Databases in order to reduce the downtime.
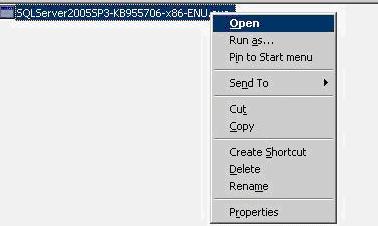
  • Uninstall the SQL Enterprise instance, restart the operating system.
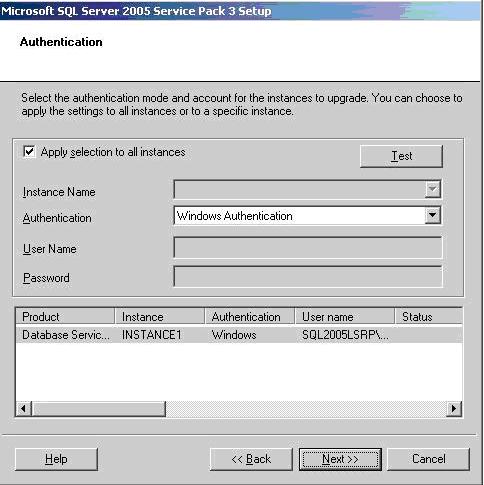
  • Install SQL Server Standard Edition and other SQL Server components.
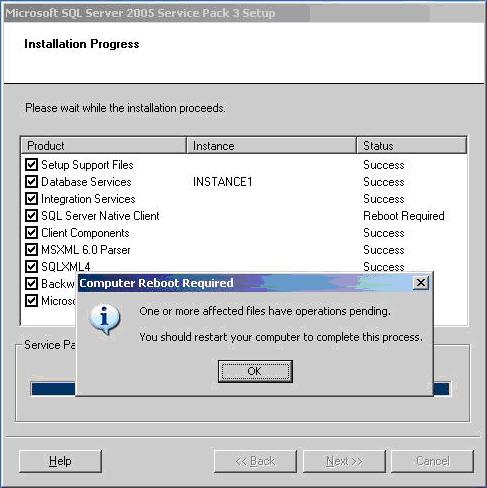
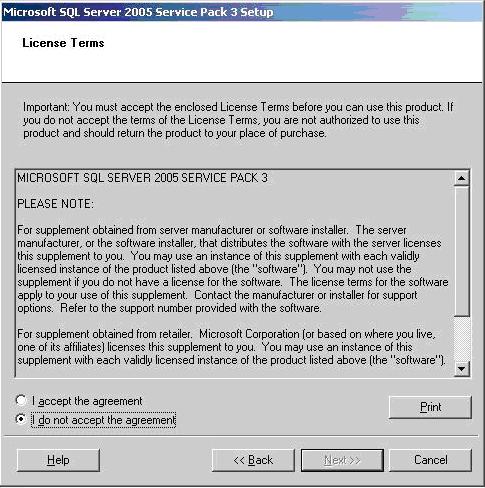
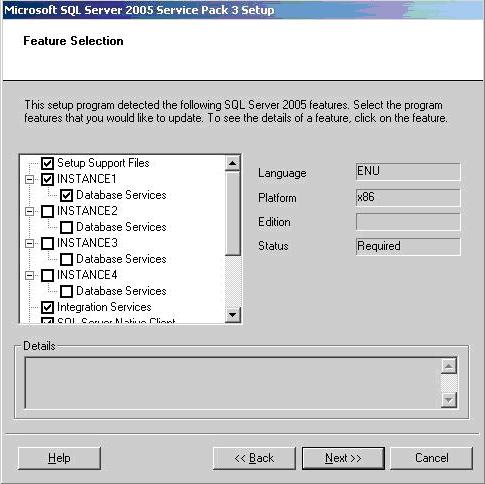
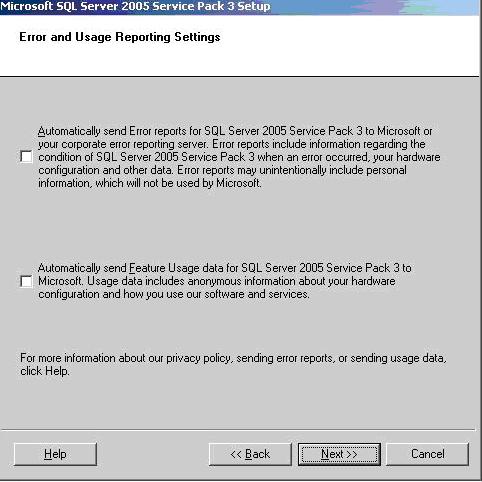
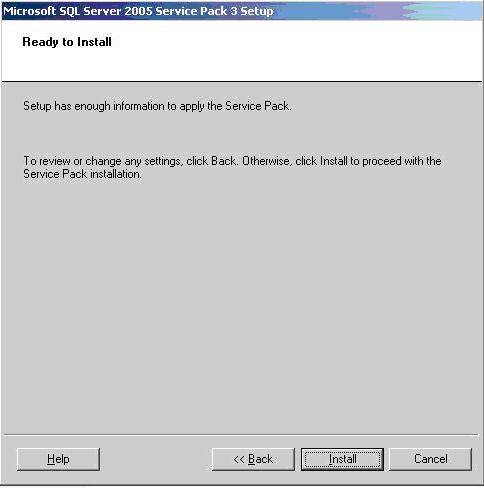
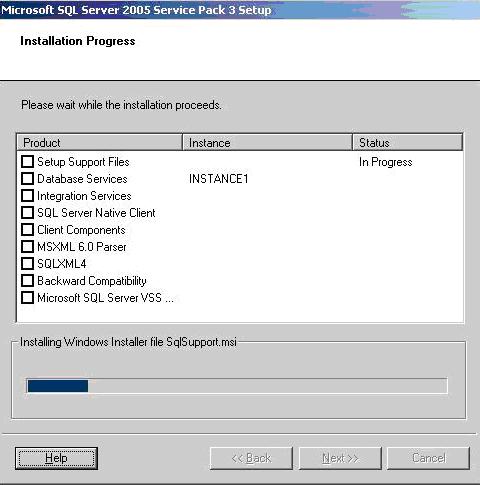
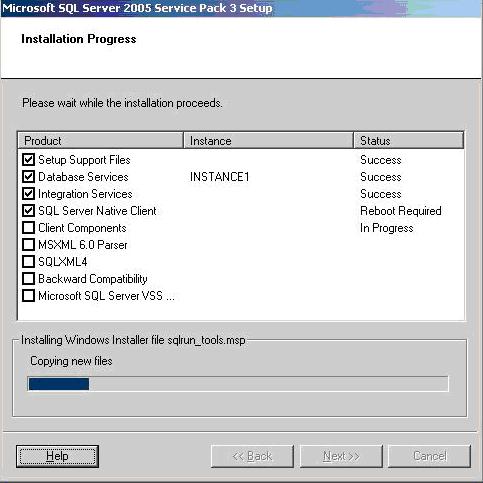
  • Apply the latest service pack for the Standard Edition. (A restart is required.)
  • Check for the Configuration settings such as AWE, Default Data and Log File Location, TCP/IP Port No, etc if needed change them to the earlier noted values.
  • Stop the SQL Server and make a physical copy of the Master, MSDB, Model and System Restore Databases (Copy of the Brand New System Databases for Standard Edition, if incase we need it, we can use these to bring back to the point of installation of Standard Edition.)
  • Restart the SQL Server and attach the User Databases using the Attach User databases Script.
  • After Successful execution of the Script, check for the databases list in SQL Management Studio. Should see all the User databases.
  • Stop the SQL Server and when the SQL Server is stopped, overwrite the system Databases MSDB and Model and Start the SQL Server. After the restart, there must be some Jobs available under the SQL Agent.
  • Check for any Logins available after overwriting the system databases, (SQL Server logins will be not available), run Create Logins Script in the Master Database.

Please find the procedure described in the following TechNet Article for scripting Logins from one Server to another Server. http://support.microsoft.com/kb/918992/

This method would ensure that you need no additional resources, on the other side if something fails, you don’t have working SQL System to fall back onto. As always having a separate server where you can perform this would ensure that you have a good and working SQL Server in case of failure.

So it’s a Best Practice to have a plan to quickly revert to your old Installation or bring up the old SQL Server with Enterprise Edition.

Do you like this site? Like our FB page @ Facebook.com\LearnSQLWithBru so that, you know when there is a new blog post.

–Bru Medishetty

Database Partitioning in SQL Server 2005

I would like to explain the steps involved in implementing Database Partitioning in SQL Server 2005.  If you had already implemented Very Large Databases using federated Databases, you would be relieved that Database Partitioning is very easy to configure and work with and the pain to maintain is gone with this wonderful feature.

Implementing Database Partitioning involves mainly 3 Steps.

  • Creating a Partition Function
  • Creating a Partition Scheme
  • Creating a Partitioned Table or Index

Creating Database to setup Partitioning

USE [master]
GO

CREATE DATABASE [LearnSQLwithBru] ON PRIMARY

(NAME = N'LearnSQLwithBruData1',
FILENAME= N'D:\LearnSQLwithBruData1.mdf',
SIZE= 3072KB ,MAXSIZE=UNLIMITED,FILEGROWTH= 1024KB ),
FILEGROUP [Filegroup_Sep2009]

(NAME = N'LearnSQLwithBruData2',
FILENAME = N'D:\LearnSQLwithBruData2.ndf',
SIZE= 3072KB ,MAXSIZE=UNLIMITED,FILEGROWTH= 1024KB ),

FILEGROUP [Filegroup_Oct2009]

(NAME= N'LearnSQLwithBruData3',
FILENAME= N'D:\LearnSQLwithBruData3.ndf',
SIZE= 3072KB ,MAXSIZE=UNLIMITED,FILEGROWTH= 1024KB )

LOG ON
(NAME = N'LearnSQLwithBru_log',
FILENAME= N'D:\LearnSQLwithBru_log.ldf',
SIZE= 10240KB ,MAXSIZE= 2048GB ,FILEGROWTH= 10%)

GO

Step 1 :  Creating a Partition Function

You must identify the Column which would be used to partition the Database. In this example I am partitioning the Database using the Datetime Value, so that we can use large Tables / Indexes on those Large tables to use this Partition. There would a good deal of benefit if the Partitioning is used by both a Large Table and the Indexes on that table. To make things better, while creating the Database, consider placing the Data Files in the Filegroups on Different Disk Drives. With or without Partitioning, SQL Server has a better performance when a Database is created with multiple Disk Drives and with Multiple Filegroups.

Follow the Code below to create a Partition Function which is based on a Datetime Values, so this gives you an opportunity to partition all the Large Tables in the current Database to be portioned by the month.

USE LearnSQLWithBru
GO

CREATE PARTITION FUNCTION PF_RangePartition (Datetime)
AS RANGE LEFT FOR

VALUES
('20090930 23:59:59.997',
'20091031 23:59:59.997')

GO

The above script ensures that we are going to create a Partitioning function in which the Range values are used in left justification, so that all the date values left of  “20090930 23:59:59.997” i.e, less than or equal to Sep 30 2009 will be stored as a single range, and then values between Oct 1 2009 to Oct 31 2009 will be stored as separate Range and all the values from Nov 1 2009 will be stored as a Separate range, by SQL Server when implemented later on.

 Step 2 :  Creating a Partition Scheme

The following code creates a Partition Scheme which will bind the partition Function to Separate Filegroups. Note it is not necessary that you need to have multiple partitions, it ensures in better Performance of the Database if implemented with multiple Filegroups.

CREATE PARTITION SCHEME OrderDateRangePScheme

AS PARTITION PF_RangePartition TO
([Filegroup_Sep2009], [Filegroup_Oct2009],
 [PRIMARY] )

The script above ensures that all the tables that are going to be created on this partition, will be physically stored based on the Filegroups mentioned. So the Data which has the values below Sep 30 2009 will all be stored separately on the Filegroup_Sep2009, and the values between Oct 1 2009 to Oct 31 2009 will be stored on the Filegroup_Oct2009, and finally any data that is Greater than or Equal to Nov 1 2009 will be stored on the Primary Filegroup.

Step 3 : Creating a Partitioned Table

In order to create a table which will use the created partitions, we need to mention the partition Name in the create table script as described below.

CREATE TABLE [DBO].[OrderDetails](
[CustomerNo] [INT]NULL, [OrderNo] [NVARCHAR](20)NULL,
[OrderQty] [SMALLINT] NULL, [OrderDate] [DATETIME] NOT NULL)
ON OrderDateRangePScheme (OrderDate)

Inserting Data into the Table

Insert some records in the Table using the following script to check the usage of Partitioning.

INSERT INTO [dbo].[OrderDetails]VALUES(1,'Ord1', 1,'09/1/2009')

INSERT INTO [dbo].[OrderDetails]VALUES(2,'Ord2', 3,'09/5/2009')

INSERT INTO [dbo].[OrderDetails]VALUES(3,'Ord3', 7,'09/10/2009')

INSERT INTO [dbo].[OrderDetails]VALUES(4,'Ord4', 2,'09/30/2009')

INSERT INTO [dbo].[OrderDetails]VALUES(5,'Ord5', 10,'10/1/2009')

INSERT INTO [dbo].[OrderDetails]VALUES(6,'Ord6', 9,'10/10/2009')

INSERT INTO [dbo].[OrderDetails]VALUES(7,'Ord7', 6,'10/20/2009')

INSERT INTO [dbo].[OrderDetails]VALUES(8,'Ord8', 8,'11/30/2009')

INSERT INTO [dbo].[OrderDetails]VALUES(9,'Ord9', 7,'12/1/2009')

INSERT INTO [dbo].[OrderDetails]VALUES(10,'Ord10', 3,'12/10/2009')

INSERT INTO [dbo].[OrderDetails]VALUES(10,'Ord10', 3,'12/15/2009')

INSERT INTO [dbo].[OrderDetails]VALUES(10,'Ord10', 3,'12/20/2009')

INSERT INTO [dbo].[OrderDetails]VALUES(10,'Ord10', 3,'12/25/2009')

INSERT INTO [dbo].[OrderDetails]VALUES(11,'Ord11', 4,'1/20/2010') 

Verifying the Partition Information

Using the sys.partitions view we can check whether the partitions have been storing the records as desired by us.

SELECT * FROM sys.partitions
WHERE OBJECT_NAME(OBJECT_ID)= 'OrderDetails';
GO

 Points to be noted

  • Only Enterprise Edition supports this feature
  • A Partitioning Function can be used by the objects in the same Database.
  • A table can have a Maximum of 1000 partitions.
  • A Partition Scheme can be defined on 1 or more Filegroups. It is not necessary to have multiple Filegroups.

Do you like this site? Like our FB page @ Facebook.com\LearnSQLWithBru to know when there is new content.

— Bru Medishetty

Installing SQL Server 2005 Service Pack 3

In this Blog we shall take a look at the steps to be carried out for Installing Service Pack 3 for SQL Server 2005.

Before Installing SP3

Keep in mind to read the Microsoft Technet Articles related to Installing Service Pack 3 for SQL Server 2005. Once installed, the SP3 cannot be uninstalled, you need to completely install SQL Server 2005 Instance from the ground up. Keeping this in mind, always take a Backup of all the System and User Databases on that instance for rollback purpose.

A copy of the Service Pack 3 can be downloaded from the link. SQL SERVER 2003 SP3

Look at the list of bugs that are fixed in SQL Server 2005 SP3 Here

After downloading the executable, go to the directory where it has been downloaded / copied. Double click the executable or right click the Exe File and choose Open in the menu as shown below.

The program finds the Instances installed on the Server.

After the step, the following Dialog box is displayed which is a welcome screen. Click Next to continue…

The Next screen is the License terms for SQL Server 2005 SP3. Choose the option I accept the agreement upon which, the Next Button will be active. (The image below was a screen shot of the default screen of the dialog box)

The next dialog (which is displayed above) provides a list of the Installed components which are available on the current Server. You can make a selection of only those required components to which you need to install the Service Pack. Here, I selected INSTANCE1 which is the Database Engine and other individual components such as Integration Services, Client Utilities etc.

This is one of the advantages in installing a Service Pack in SQL Server. It enables to you apply the Service Pack on a test Instance and test it thoroughly without affecting the other Instance on the same Physical machine.

After making selection of the components to be applied, click Next.

Choose the Authentication Mode to apply the Service Pack, you can choose either Windows Authentication or Mixed Mode, either way the Login needs to have administrative rights on the Server. Click Next

The Error and Usage Reporting Settings are the similar settings you find when Installing a initial Installation of SQL Instance.. Choose what ever applies.

The above dialog displays all the Services that related to SQL Server and running currently, It is suggested that the services are stopped in order not to have a reboot of the SQL Server. I remember, I choose not to stop the Services, and resulted in a reboot., so keep in mind the selection of the choice..

The above dialog box is a summary information box indicating it is ready to start the installation of the service pack. By clicking on the Install Button, you are going to start the Installation, it would not be possible to stop the installation after you click on the Install Button.

The Installation would continue to update the Service Pack for the Individual components as shown in the pictures, above and below.

That concludes the Installation process of Service Pack 3 for SQL Server 2005. Restart the Server to complete the SP3 installation to take effect.

Note: The steps described in this blog are generic, it may be different depending on your environment.

Word of caution: Always perform the installation in test environment and check the SQL Server functionalities and applications that are depending on the SQL Server.

Do you like this site? Like our FB page @ Facebook.com\LearnSQLWithBru to know when there is new content.

–Bru Medishetty