
In this Blog we shall take a look at the steps to be carried out for Installing Service Pack 3 for SQL Server 2005.
Before Installing SP3
Keep in mind to read the Microsoft Technet Articles related to Installing Service Pack 3 for SQL Server 2005. Once installed, the SP3 cannot be uninstalled, you need to completely install SQL Server 2005 Instance from the ground up. Keeping this in mind, always take a Backup of all the System and User Databases on that instance for rollback purpose.
A copy of the Service Pack 3 can be downloaded from the link. SQL SERVER 2003 SP3
Look at the list of bugs that are fixed in SQL Server 2005 SP3 Here
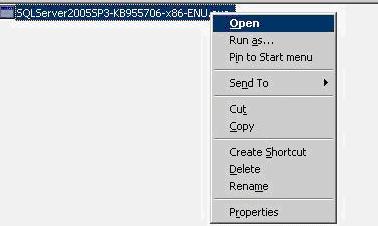
After downloading the executable, go to the directory where it has been downloaded / copied. Double click the executable or right click the Exe File and choose Open in the menu as shown below.
The program finds the Instances installed on the Server.
After the step, the following Dialog box is displayed which is a welcome screen. Click Next to continue…

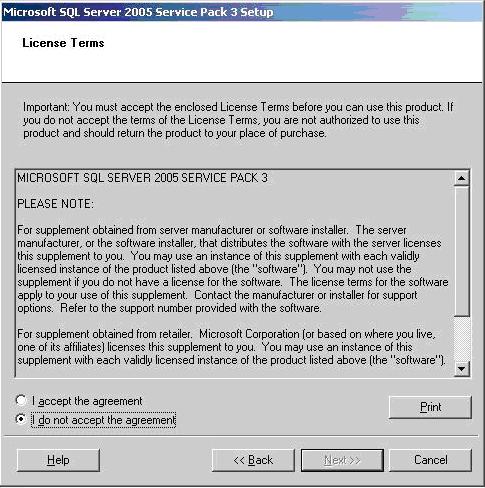
The Next screen is the License terms for SQL Server 2005 SP3. Choose the option I accept the agreement upon which, the Next Button will be active. (The image below was a screen shot of the default screen of the dialog box)
The next dialog (which is displayed above) provides a list of the Installed components which are available on the current Server. You can make a selection of only those required components to which you need to install the Service Pack. Here, I selected INSTANCE1 which is the Database Engine and other individual components such as Integration Services, Client Utilities etc.
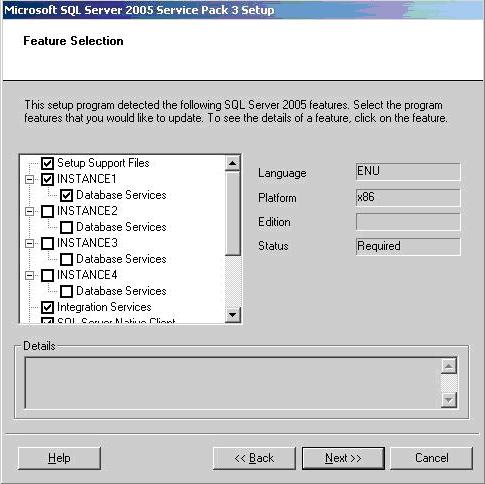
This is one of the advantages in installing a Service Pack in SQL Server. It enables to you apply the Service Pack on a test Instance and test it thoroughly without affecting the other Instance on the same Physical machine.
After making selection of the components to be applied, click Next.
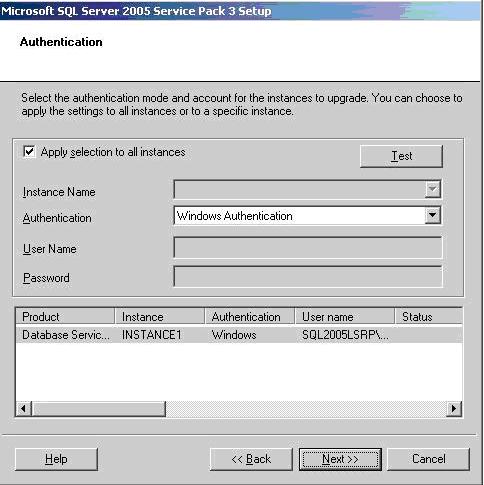
Choose the Authentication Mode to apply the Service Pack, you can choose either Windows Authentication or Mixed Mode, either way the Login needs to have administrative rights on the Server. Click Next
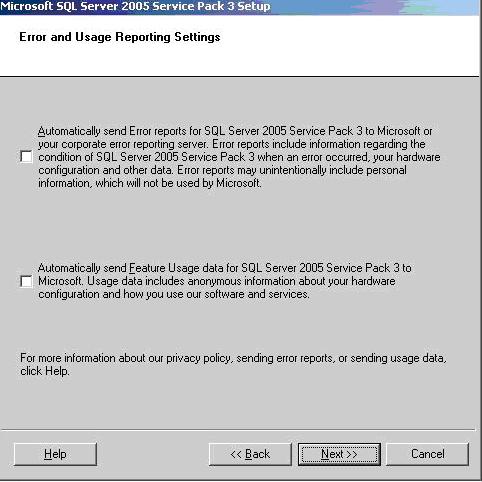
The Error and Usage Reporting Settings are the similar settings you find when Installing a initial Installation of SQL Instance.. Choose what ever applies.

The above dialog displays all the Services that related to SQL Server and running currently, It is suggested that the services are stopped in order not to have a reboot of the SQL Server. I remember, I choose not to stop the Services, and resulted in a reboot., so keep in mind the selection of the choice..
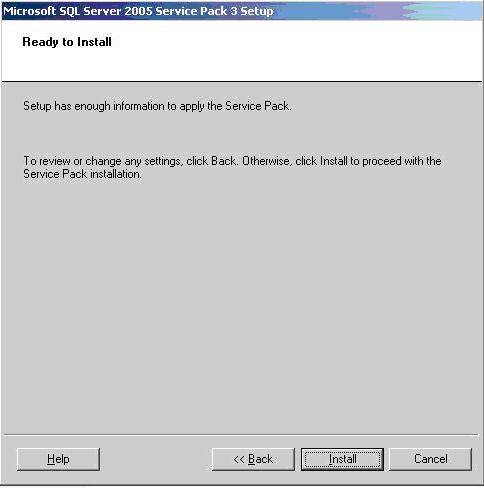
The above dialog box is a summary information box indicating it is ready to start the installation of the service pack. By clicking on the Install Button, you are going to start the Installation, it would not be possible to stop the installation after you click on the Install Button.
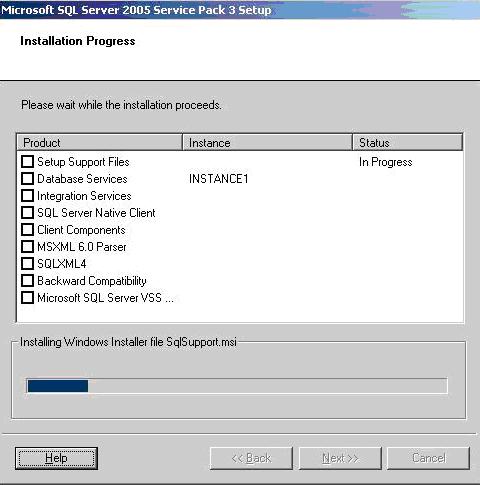
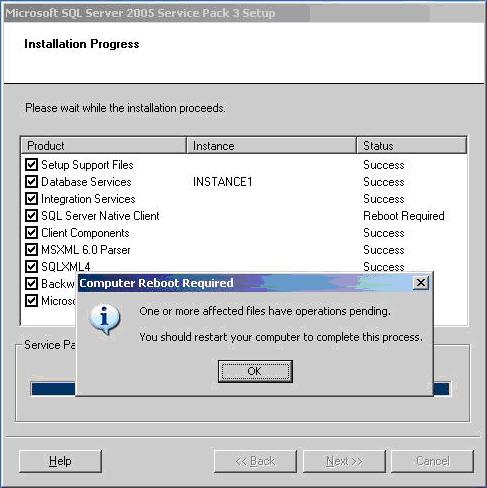
The Installation would continue to update the Service Pack for the Individual components as shown in the pictures, above and below.
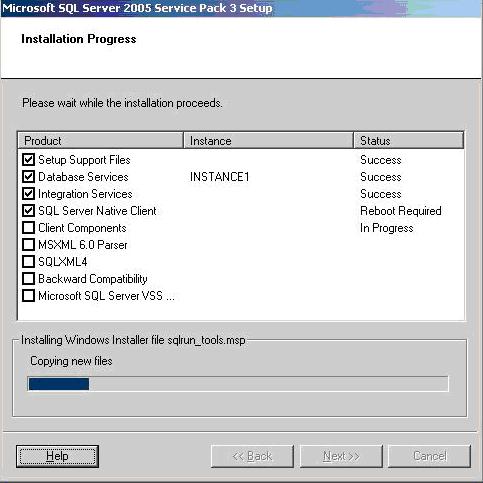
That concludes the Installation process of Service Pack 3 for SQL Server 2005. Restart the Server to complete the SP3 installation to take effect.
Note: The steps described in this blog are generic, it may be different depending on your environment.
Word of caution: Always perform the installation in test environment and check the SQL Server functionalities and applications that are depending on the SQL Server.
Do you like this site? Like our FB page @ Facebook.com\LearnSQLWithBru to know when there is new content.
–Bru Medishetty
its good and informational
we should install sql first or server pack first
Thanks
Nishadonald, you will have to install SQL Server first and then install/apply Service Packs…
nice explanatin sir..
Thank you….Good one