Some time back, I was administering a SQL Server 2005 instance which hosts a huge number of Databases. The instance is in production environment and all the databases are set to be backed up at regular intervals of 10 minutes. Due to this, SQL Server Log is flooded with backup information resulting the SQL Server Log to grow enormously. As part of monitoring, I look at the entries in SQL Server Log and it is a tough task to weed out the entries related to successful database backups. These are the steps I had to perform to supress the successful backup information in SQL Server Logs.
To understand better let us take a look at the problem first and then work on solving it.
SQL Server runs a default trace which keeps track of certain events and writes them to SQL Server Log when there is an important information such as a database restore, change in recovery model of a database or a failure login.
The following images display some sample log entries found in a log viewer. The image displayed contains an entry about a failed login attempt to the SQL Server.
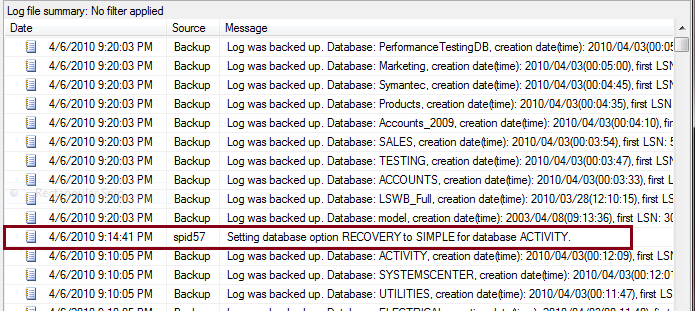
This below image displays an entry about a change in the recovery model for a database.
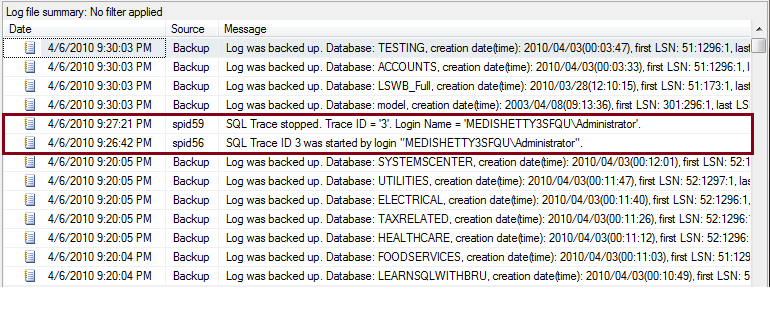
Here is another example, the below image displays the error log indicating that a profiler trace has been started and stopped by user.
Monitoring the SQL Server log from time to time is very important since it has vital information about the SQL instance. Many times, the information found in these error logs is important for troubleshooting SQL Server issues. Having too many entries in the SQL Server Log causes delay in loading the error log in log viewer, moreover it is difficult to find the error messages reported in the error log due to high number of log entries. SQL Server Error Log is recycled automatically every time SQL Server starts, due to this, error log grows in huge size causing trouble to find the vital information about the SQL instance.
On a SQL Server which hosts 20 databases, assuming that transaction log backups are scheduled every 10 minutes, would result in 2880 entries each day due to successful backups being written in error log. This should be avoided in order to find out other entries easily in log viewer.
Next we move on to the steps to solve this problem.
This problem can be solved in 2 different ways. One way of solving this by runnig DBCC TRACEON command.
Solution 1
Below is the screenshot of the command. What we are doing in this command is to turn off all successful backup entries into the SQL Server. Note that any failed backups are still logged into the error log.. The next line is the command to recycle the SQL Server Error Log, so that we would have a clean error log from that point onwards. This solution is good until the SQL Server is restarted the next time. So as long as the SQL Instance is not restarted, we will not be seeing the successful backup entries in the Error log.
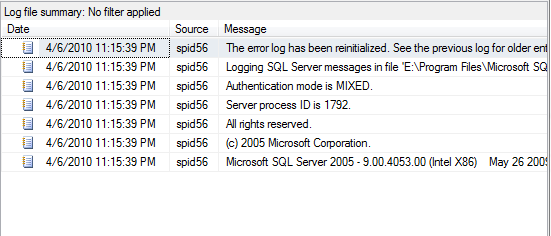
Below is how the Error Log looks, after it has been recycled..
Solution 2
The procedure involved in this solution is to add a trace flag to the SQL Server startup. This solution is permanent, that is, the successful backup information will not be written in the error log, unless the trace flag is removed manully from the SQL Server startup parameters..
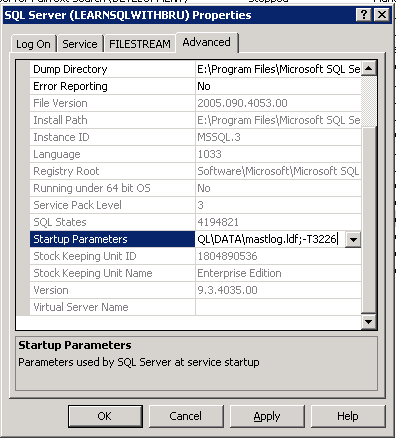
In order to do this, we need to log into Services console and find the SQL Server service and right click, choose porperties. In the Advanced tab, under startup parameters. Go to the end of the parameters and add a semicolon ” ; “, followed by -T3226. Save the modifications by clicking Apply and OK.
You should see a warning / confimation message indicating that the changes will take effect only when the SQL Server is restarted next time. Click OK and when possible, restart the SQL Server.
Do you like this site? Like our FB page @ Facebook.com\LearnSQLWithBru so that, you know when there is a new blog post.
– Bru Medishetty


