This blog will show you step by step instructions on how to install SQL Server 2008 R2.
Before Installing SQL Server make sure you have updated the Windows with the latest Service Pack and hotfixes. .Net 3.5 Framework is a prerequisite for Installing SQL Server 2008 R2 and it has to be installed separately before we begin SQL Server Installation. Read the steps to Install .Net 3.5 framework and install it. Reboot your machine to make sure we are ready for a smooth installation.
Go to the location where you have copied the SQL Server Installation software and you should find the root directory something like what you see below. Make sure you logged in as a user who has Admin rights on the server. Right click the Setup.exe and choose Run as Administrator.
 SQL Server Installation Center should open and by default the Planning page is displayed as shown below..
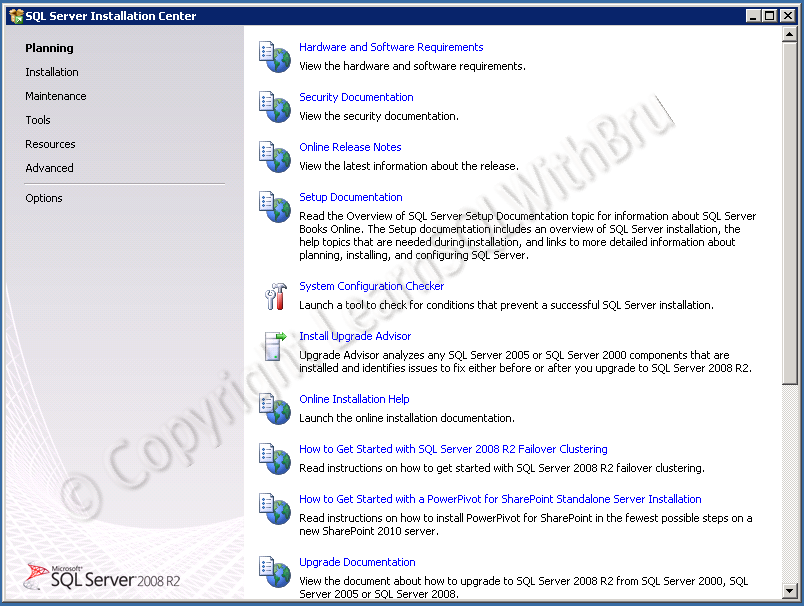 SQL Server Installation Center is designed to be useful when you are performing a new Installation, or modify an existing installation, perform an upgrade and many more tasks related to Installation. We need to click on Installation to display the Installation choices. The Installation page is displayed as below..
 When you are installing SQL Server 2012 on a stand-alone server, we need to choose the very first link by clicking on the text in New SQL Server stand-alone installation or add features to an existing installation.
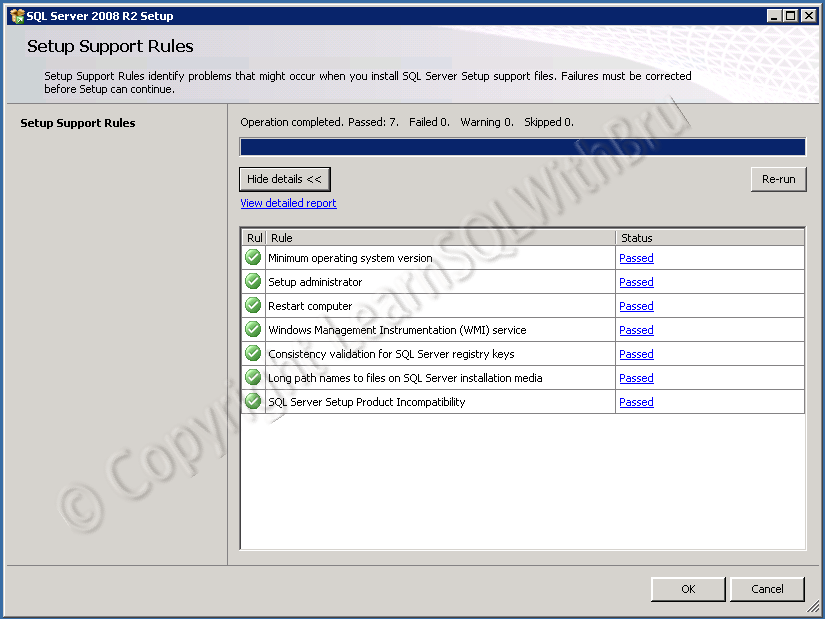
Setup Support Rules is displayed (picture below) which performs a quick check that might cause issues while installation. If there are any failures in the the checklist, those failures need to be corrected (such as a system reboot or user not having admin rights etc). Click OK to proceed.
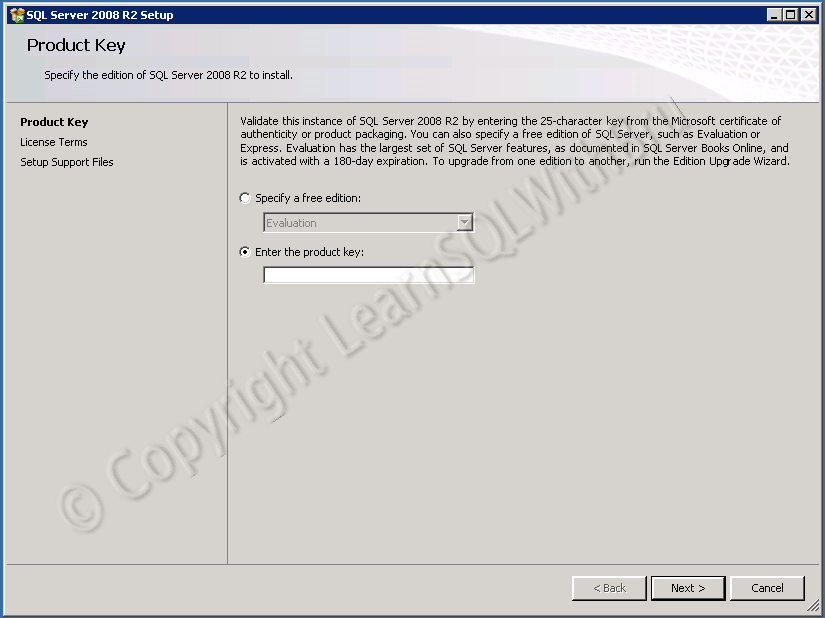
 The next screen is Product Key, in this screen you will have to key in the product key (25 characters long) which came with your Installation media. In this case I am installing a Developer Edition and I typed in the Key, (for the blog purpose, I whitened the are) and continue clicking Next.
 The next screen will display the License Terms and we need to accept the license terms by selecting the check box (as shown in the picture below).
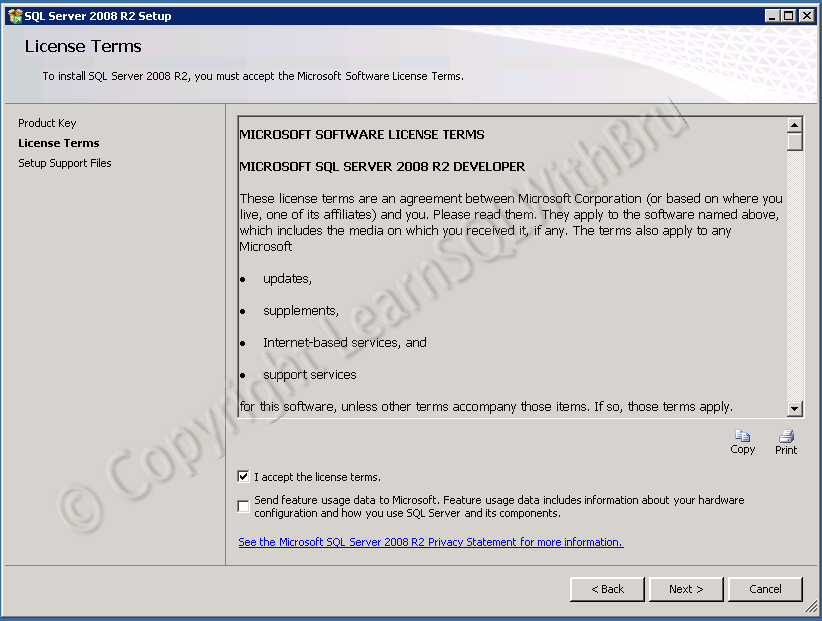 Click Next to proceed. Click Install so that the Setup Support Files are installed.
 Once the Setup Support Files are installed the next step is Setup Support Rules which performs additional checks for smooth Installation.
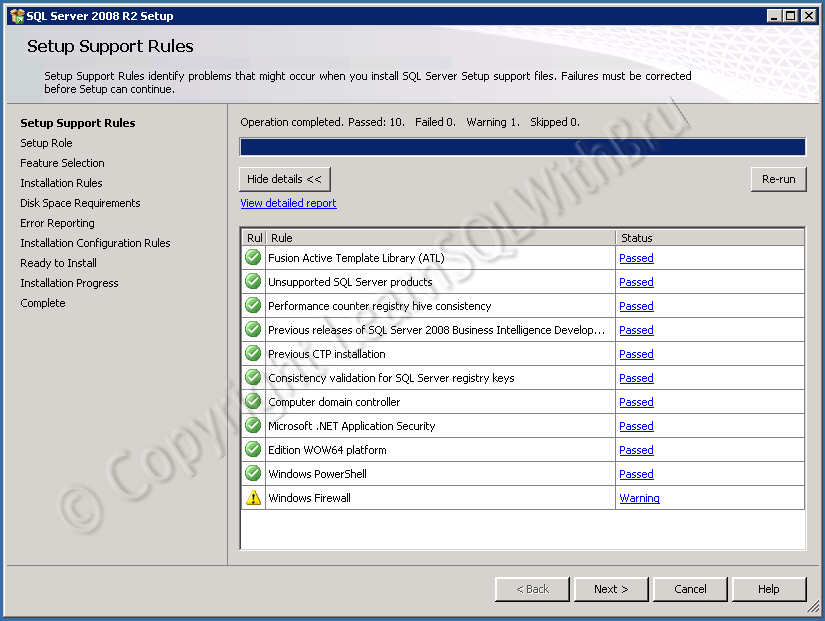 See that there is one warning (Windows Firewall) which will not stop us from installing SQL Server. Click Next to proceed. Remember that if there are any Errors, the Setup will not continue and you have to fix those errors and restart the Installation process.
The Installation now moves to the next step where we can choose how do we want the SQL Server installation to continue. Select SQL Server Feature Installation option button, as this would give us more control on what SQL Server components are going to be installed and installation drives and directories.
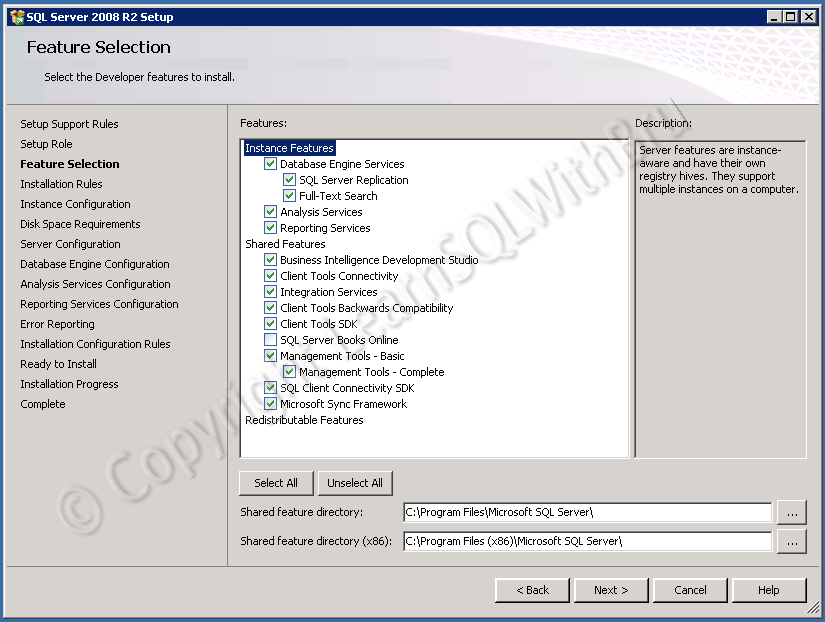
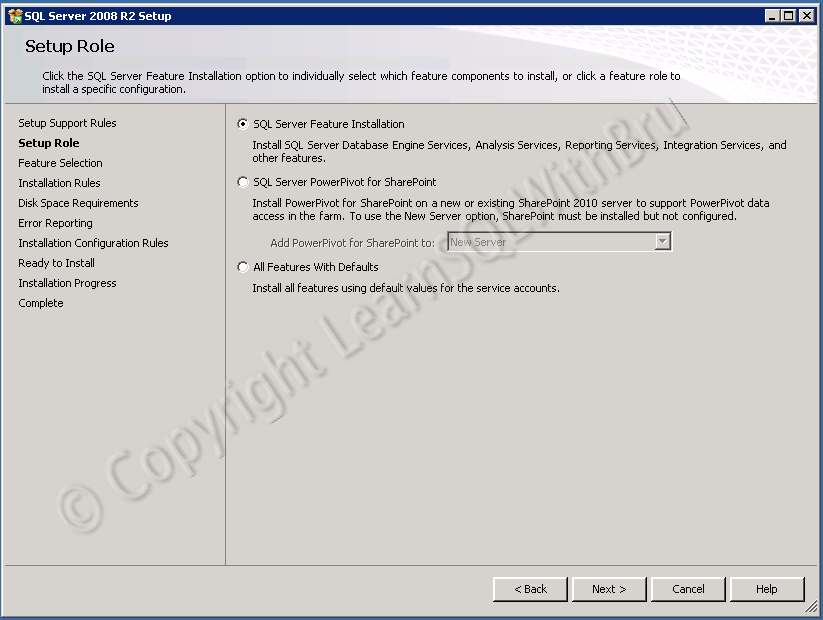 Click Next to continue.. In the next screen, you can choose what features do you want to install on your server. You can choose only what is required and in a work environment, not all features are going to be installed. Since I am installing on my personal Server, I selected all features except Books Online. Depending on the Instance features selected in this step, there will be some additional steps (screens) in the installation. For example if you choose Reporting Services feature, there will be a separate step in the Installation process where you will have to choose how the Reporting Services will be installed.. Once you have your selections, click Next…
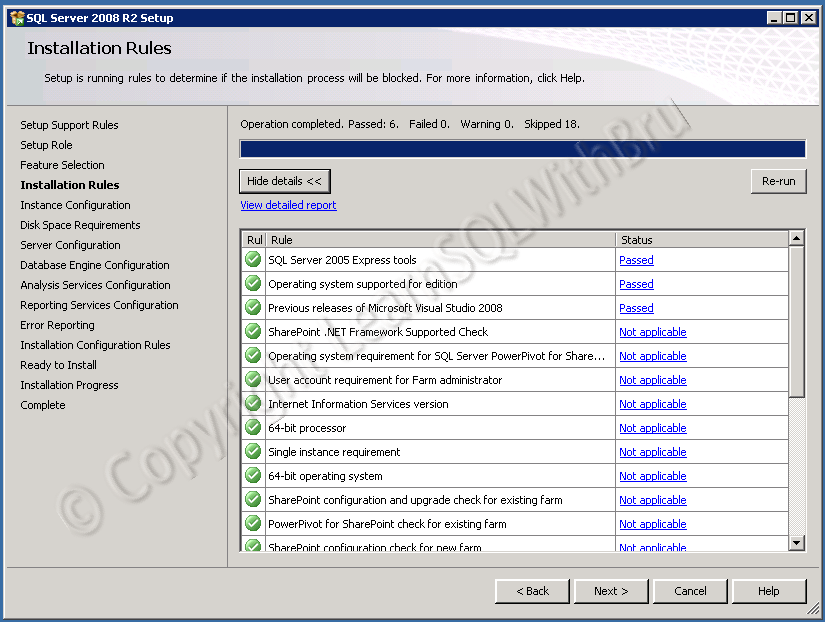
 One more round of Installation Rules to ensure that we do not run into trouble while Installing.. Since there are no failures, click Next.
The next step is Instance Configuration. This is the step where you can choose if the SQL Instance that we are going to install is a Default Instance or a Named Instance. If you wish to install a default Instance, select Default Instance radio button else choose Named Instance and type the Instance Name (please note that there are certain rules while naming a SQL Instance; I wrote a blog about it, read them @ Rules to follow while naming SQL Server Instance). Once you are done typing the Instance Name, click Next.
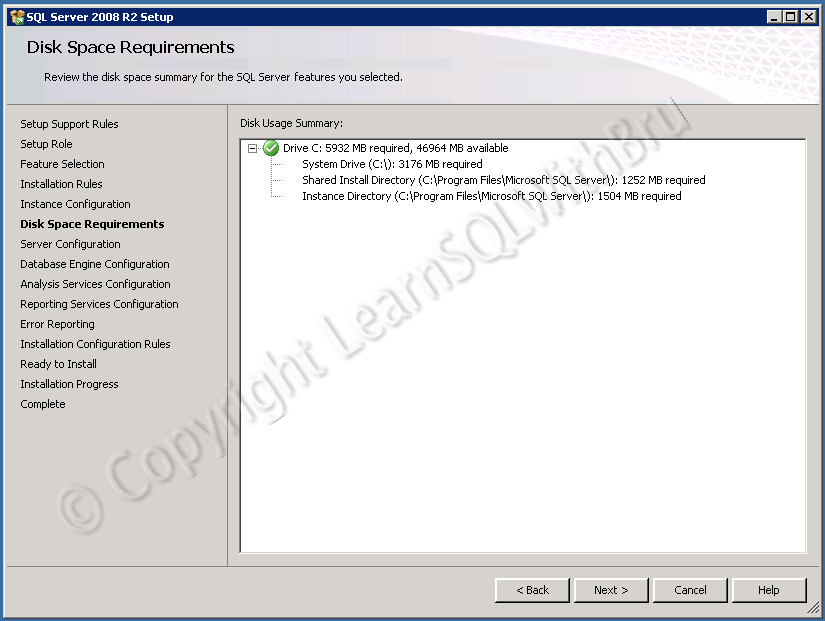
 Next screen displays the disk space required for the Installation, this space requirements depend on the components / features we choose. Click Next to proceed…
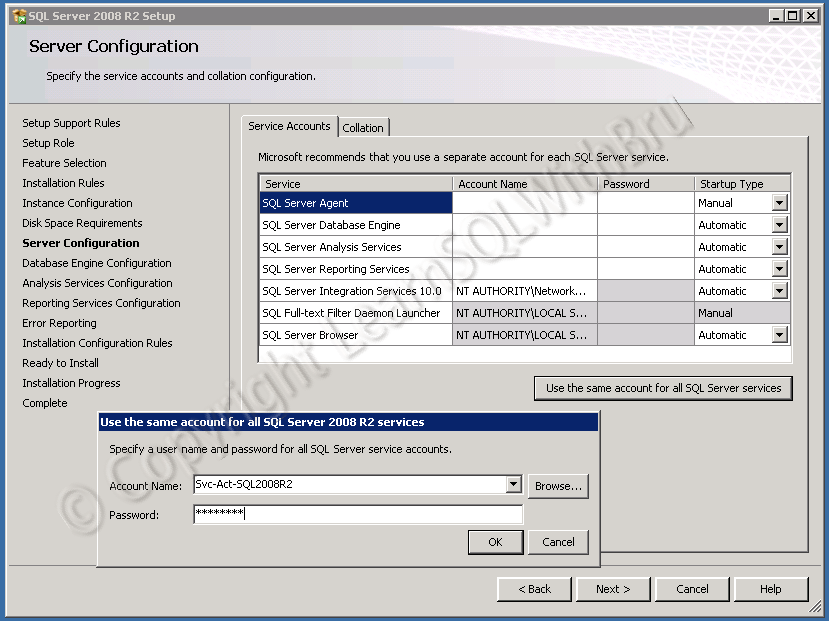
 In the next screen of Installation, we have to choose the Service Accounts under which the the different SQL Services will run. It is recommended that separate accounts are used for each service. Also ensure that those service accounts have necessary permissions on the SQL Server machine. For this Installation, I would like to use only one service account for all the services, so I click on the button Use the same account for all SQL Server services and there will be a dialog box where I can enter the Account Name and password of the service account and click OK.
If you are a beginner, you might not be understanding this, so leave the task of having a service account and you go ahead and click the button Use the same account for all SQL Server services and there will be a dialog box, in the Account Name there will be a drop down list from which you can select NT Authority\LOCALSERVICE Name and you don’t have to enter a password, and click OK.
Also, note that there is a Startup Type column in which you can select if the SQL Service will start automatically when the Machine is started, you can choose a Manual Startup for a service, if you do not want that service to start as soon the machine starts. You can always change these startup types at any time after the Installation is done. Once you are done with all the choices in this screen, click Next..
 The next few screens will be displaying the configuration for the components, the first being Database Engine (pic below). This is the place where you can set the Authentication Mode of the SQL Server Database Engine. By default it would be Windows authentication mode, If you choose Mixed Mode, you will be asked to enter sa password and additionally you might want to add any other users who would be sysadmins on the SQL Server. You can do both of these at a later time, but it is recommended that you add at least one more user as a sysadmin at the time of installation. There are couple of tabs apart from Account Provisioning.
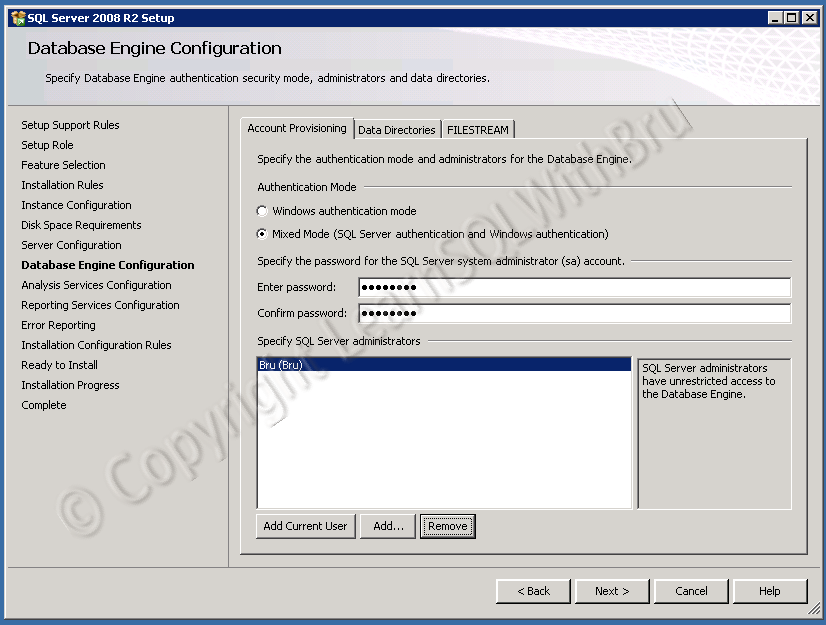 Once you are done with the settings in this tab, click on Data Directories tab. In this Tab, you can choose the directories for User Databases, System databases and the Backup directory. You can make some changes at a later time also, if needed to change in this step, click on the ellipsis button (…) far right side against each directory type. If you click on that button there will be a popup window to browse for the destination directory.. Make your changes as needed and click Next.
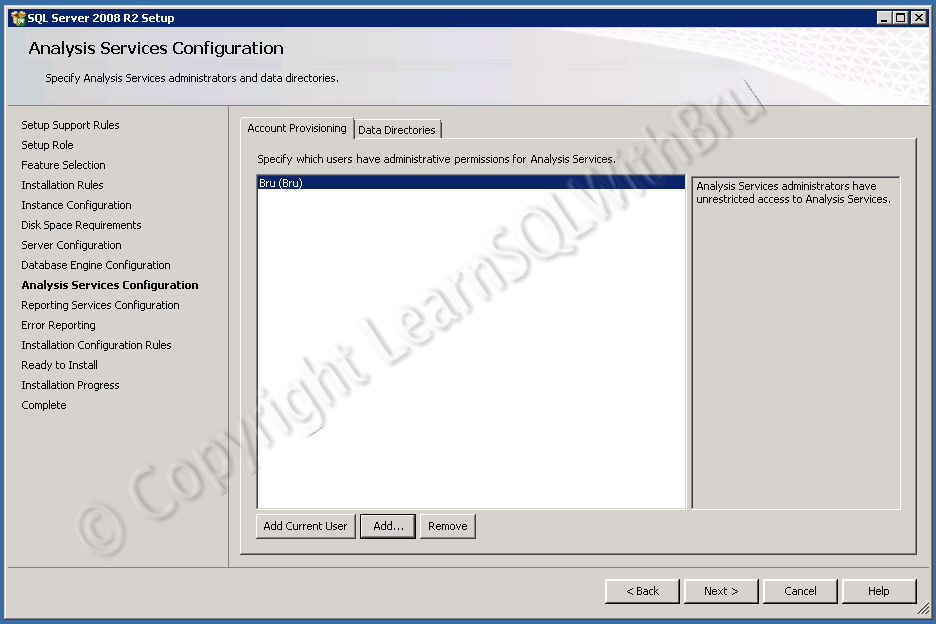
 The next step is for setting the Admin accounts for Analysis Services, the same step to add an additional user is as explained in the previous step. Data Directory tab is also available in this step, which is similar to the Database Engine, so we are going to skip that tab. Click Next to proceed.
 The next screen is for Reporting Services. If you would like the Installation to automatically configure Reporting Services for you, You can choose which option you think is good for you. I chose Install, but do not configure the report server as I would like to configure manually at a later time. Click Next…
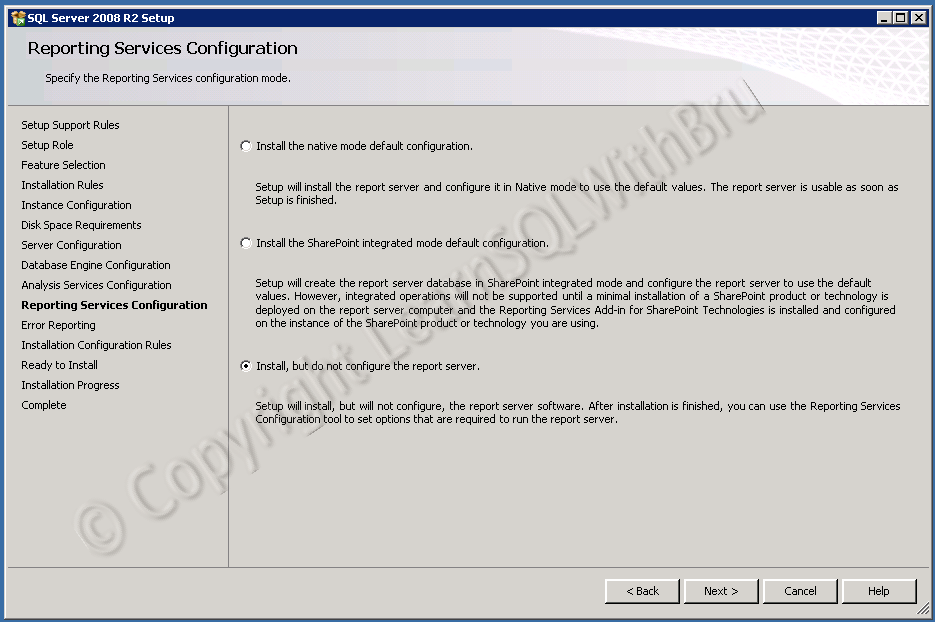 The option in the next screen lets you decide if you would like SQL Server to send Error Reports to Microsoft automatically. It is only optional and varies from user to user.
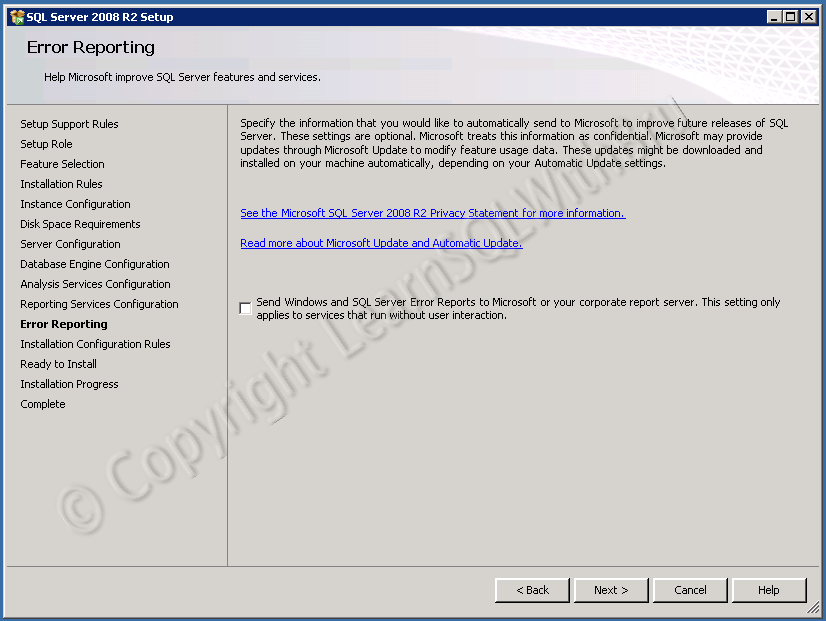 The next screen is the final check of Installation prerequisites before Installation begins..
 We are all set for Installation, and the next screen is a summary of what we have chosen to Install, what components and chosen, installation location etc.. Click Install for the Installation to begin..
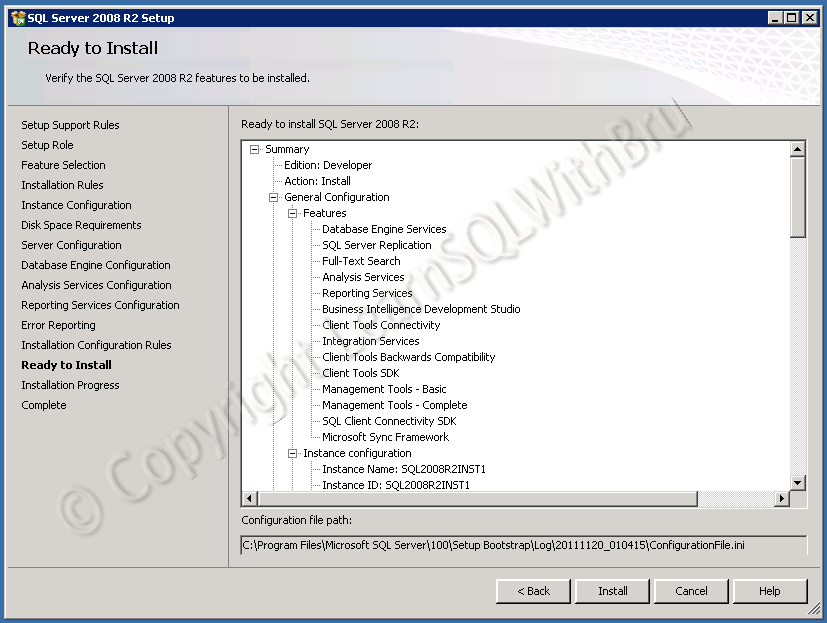 The screen below is a screen shot of the Installation process..
 Once the installation is successfully competed, the following screen is displayed.
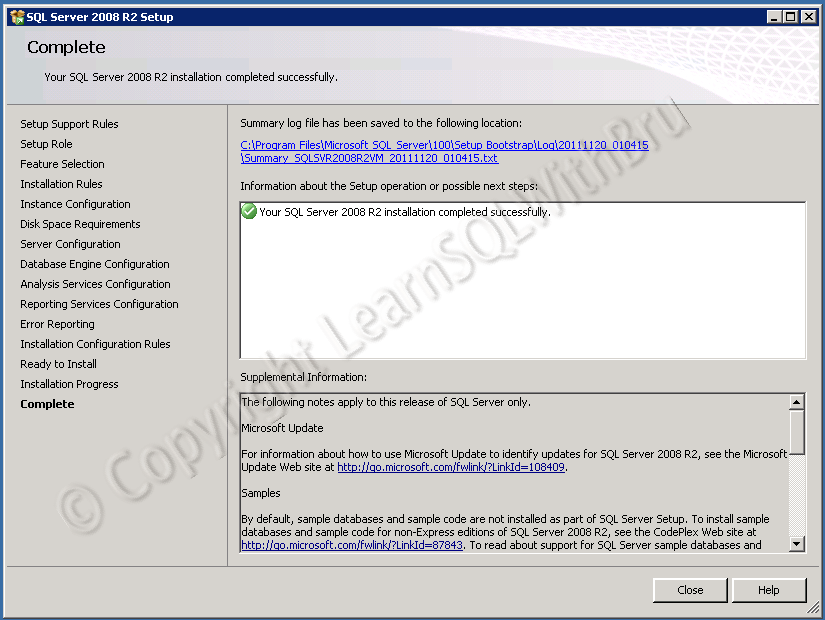 Once you are done installing successfully, you will have some post installation steps to perform on your SQL Server.
Do you like this site? Like our FB page @ Facebook.com\LearnSQLWithBru so that, you know when there is a new blog post.
–Bru Medishetty
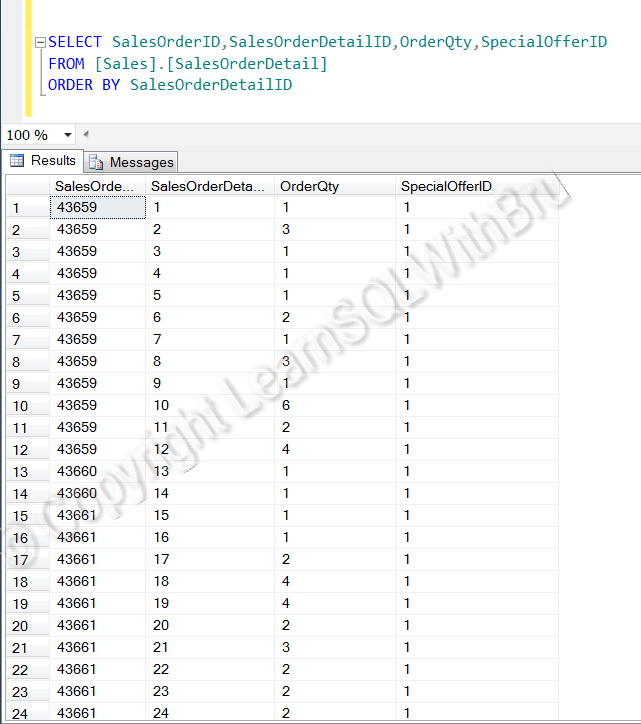 Observe that the data is displayed sorted by the column SalesOrderDetailID, which is very much clear from the ORDER BY clause at the end of the query. This query will display all records in that table as we have not included any filtering condition.


